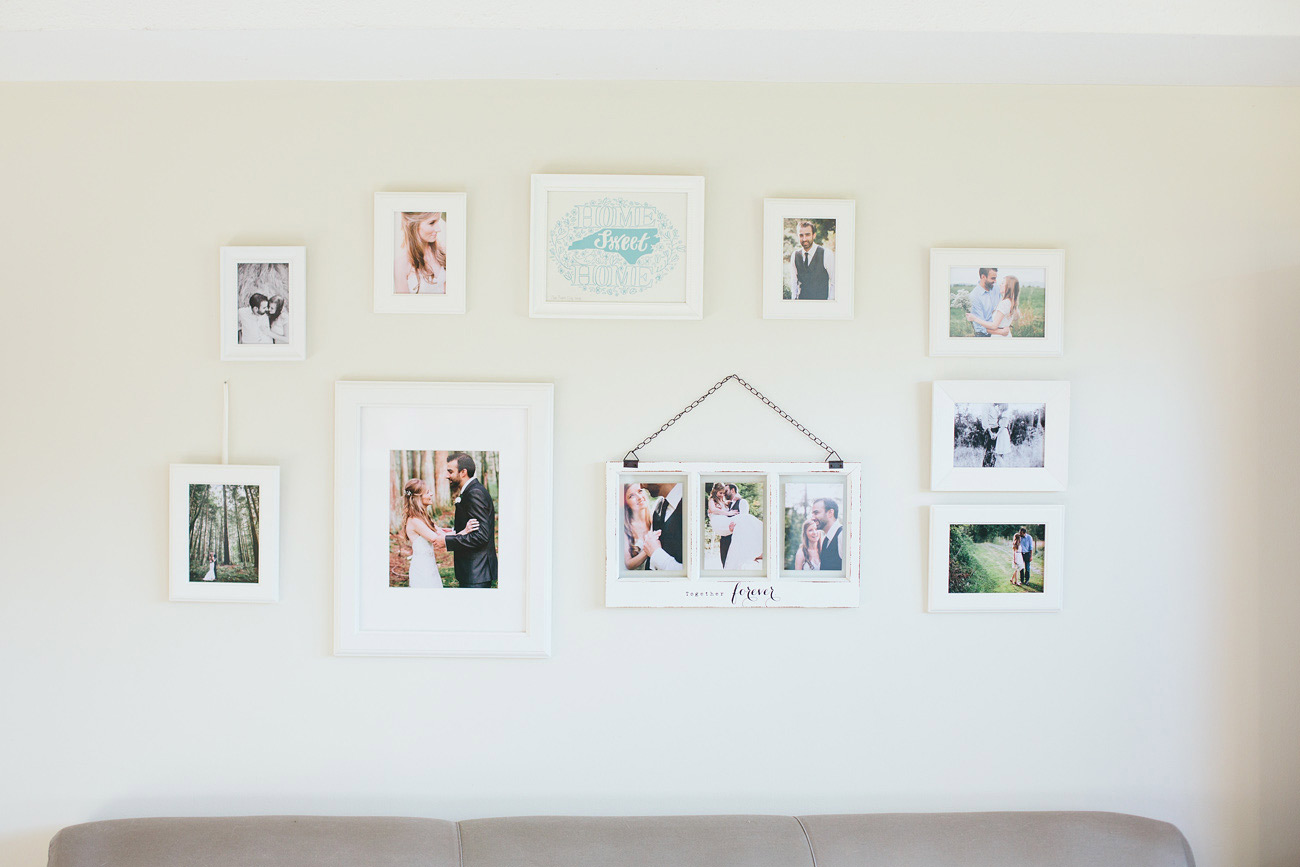
A year and a half with no photos on our walls, it’s pretty shameful, especially for a photographer.. BUT we did move three times in that period. I’m happy to say I have now fixed that. I mentioned previously that I’d share a little about how I set up our gallery wall with a few tips, so here you go :)
1. Gather Inspiration and Choose a Style
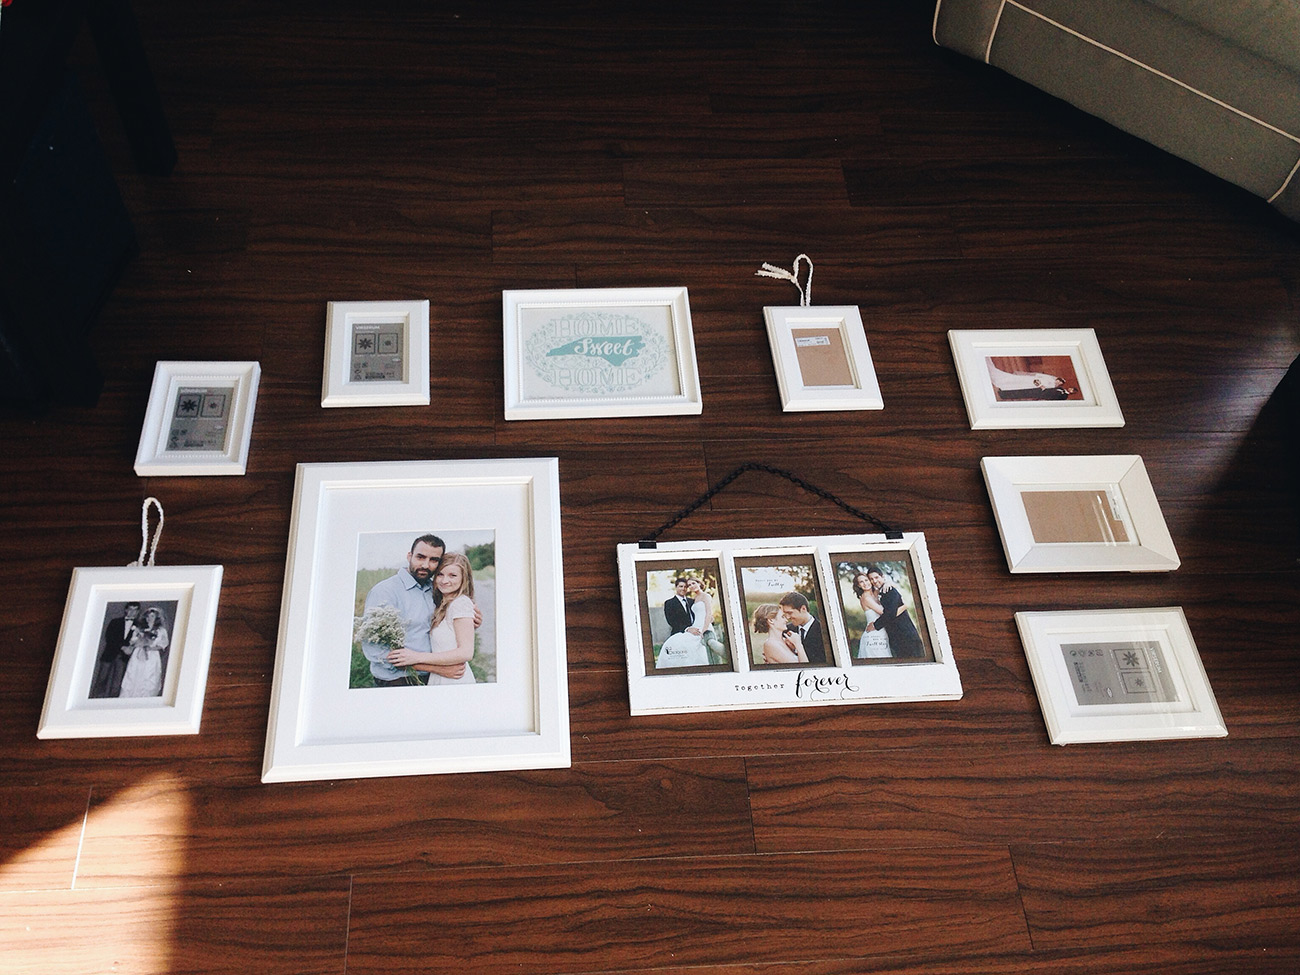
Get an idea of what style you’d like to create. Clean, eclectic, rustic… You can use Pinterest to get a loose idea of what style you like. For the record, I spent way too long on this step. It was so much easier once I just put all my picture frames on the floor and started rearranging them.
Follow Alyssa’s board Displaying Photos on Pinterest.
2. Choose your Frames
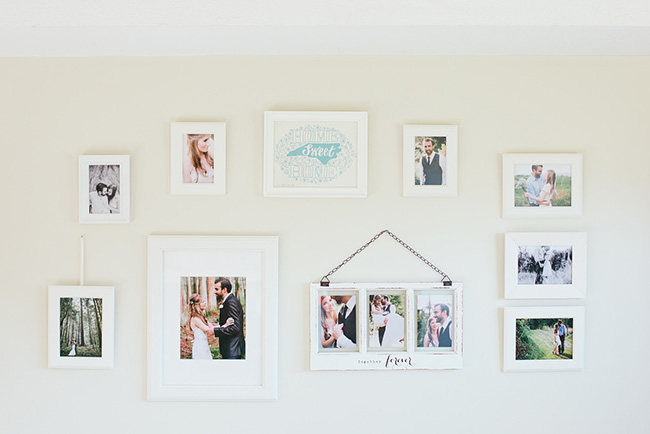
I eliminated some decision making on my part by re-using the white frames from Ikea that we used in our wedding. I really like the clean look and how photos pop on white.
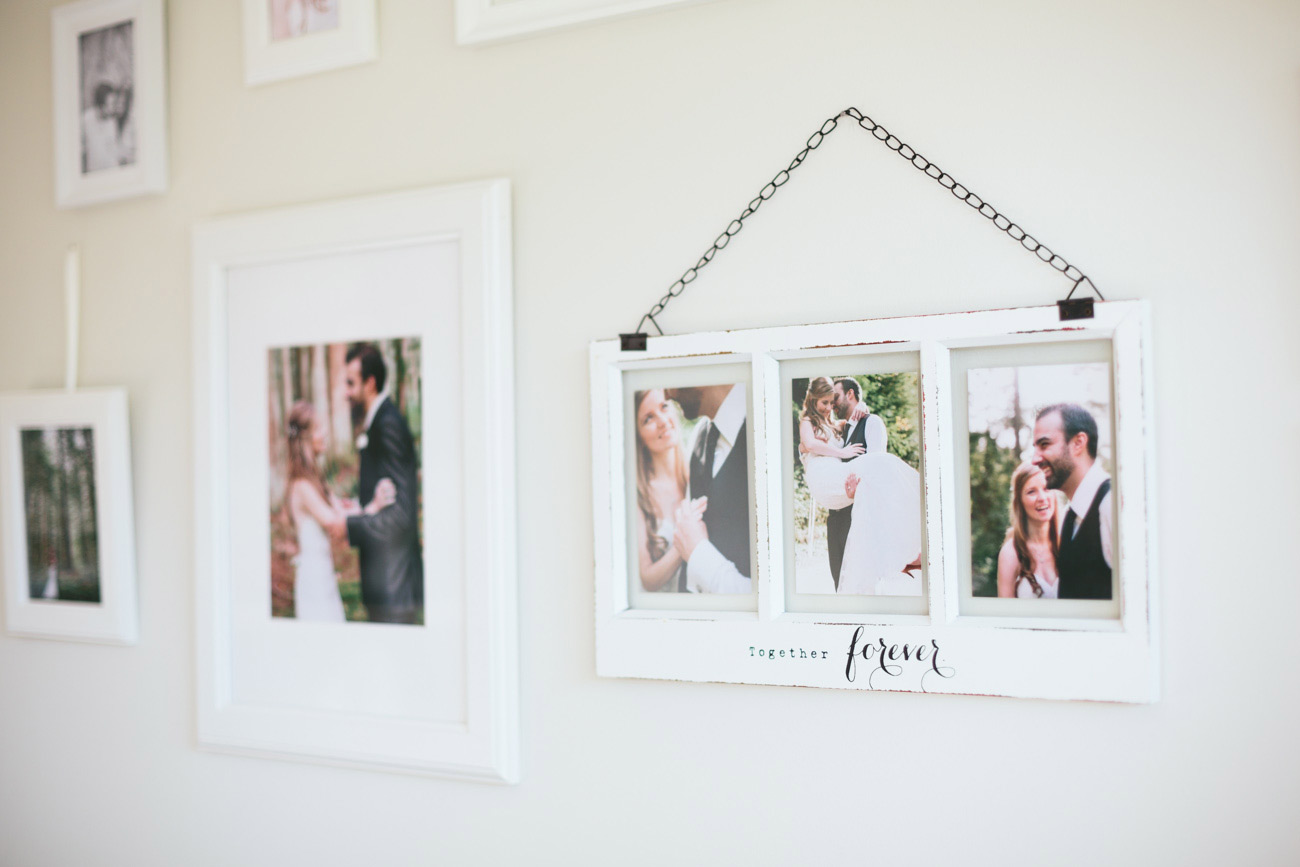
– mix old and new frames
– hang frames by ribbon or lace
– paint a frame to be a focal point
– choose a variety of sizes with some repeating sizes
3. Choose Unique Pieces
This is the fun part. Choose some unique items to balance your photo frames. You should have an idea on the set of photos you’re going to be using to set the tone. Here’s some ideas.
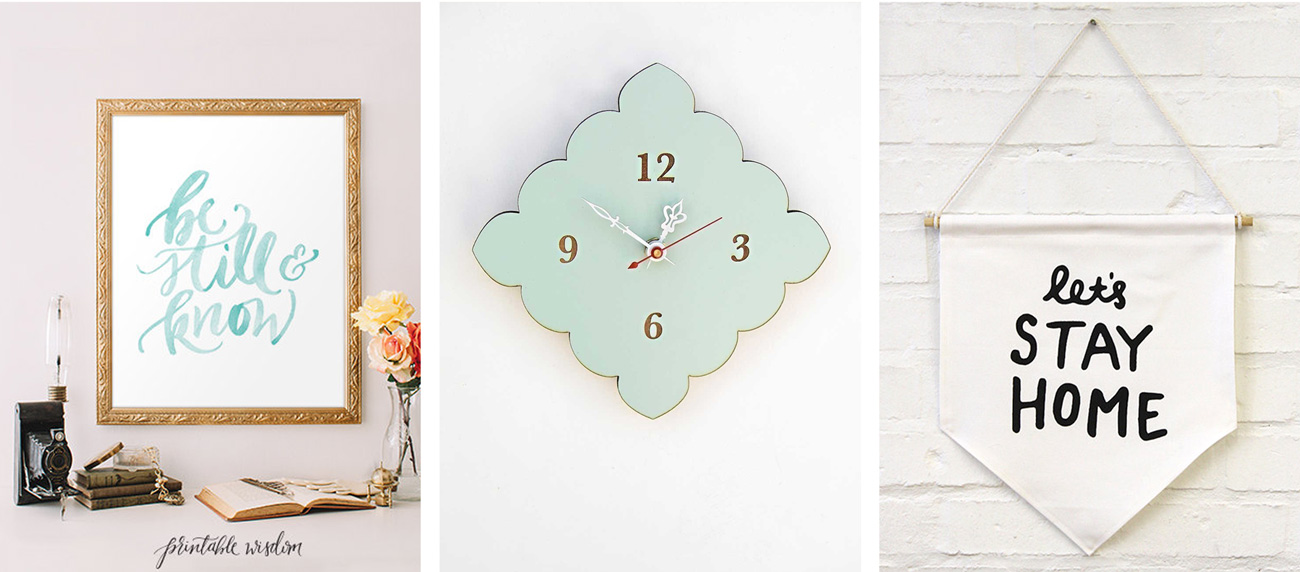
Be Still Printable – Tiny Scallop Clock – Home Banner
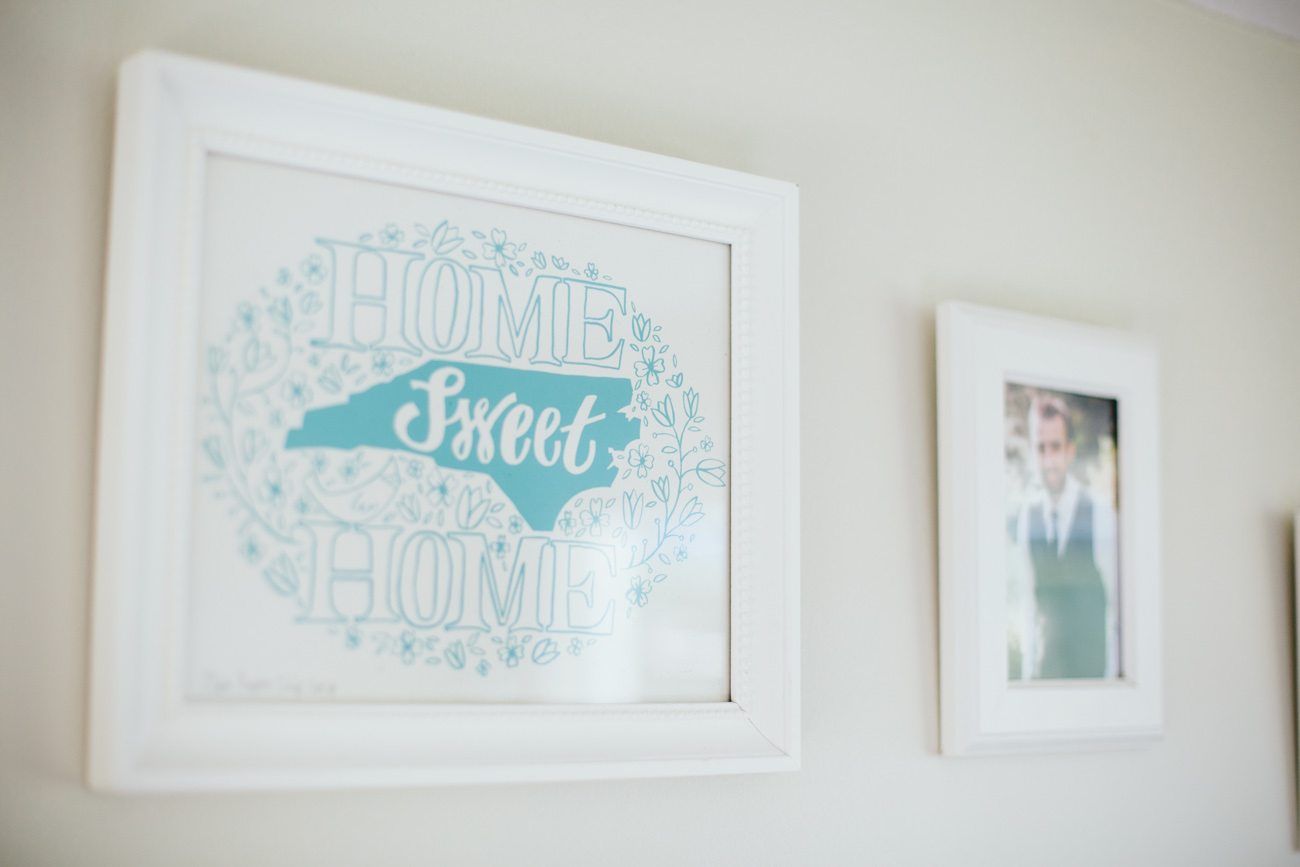
I used a print I bought off Etsy from This Paper Ship. Funny fact: I realized after, this is the shape of North Carolina. It seemed like a piece of driftwood to me!
4. Lay Out Everything on the Floor
If you’re like me, this may take you a good hour. It’s best to anchor your largest, favourite pieces and build around them. It helped me to take pictures of my layouts and compare. This is also a good time to bug your friends and family with photos of Option A, B or C ;)
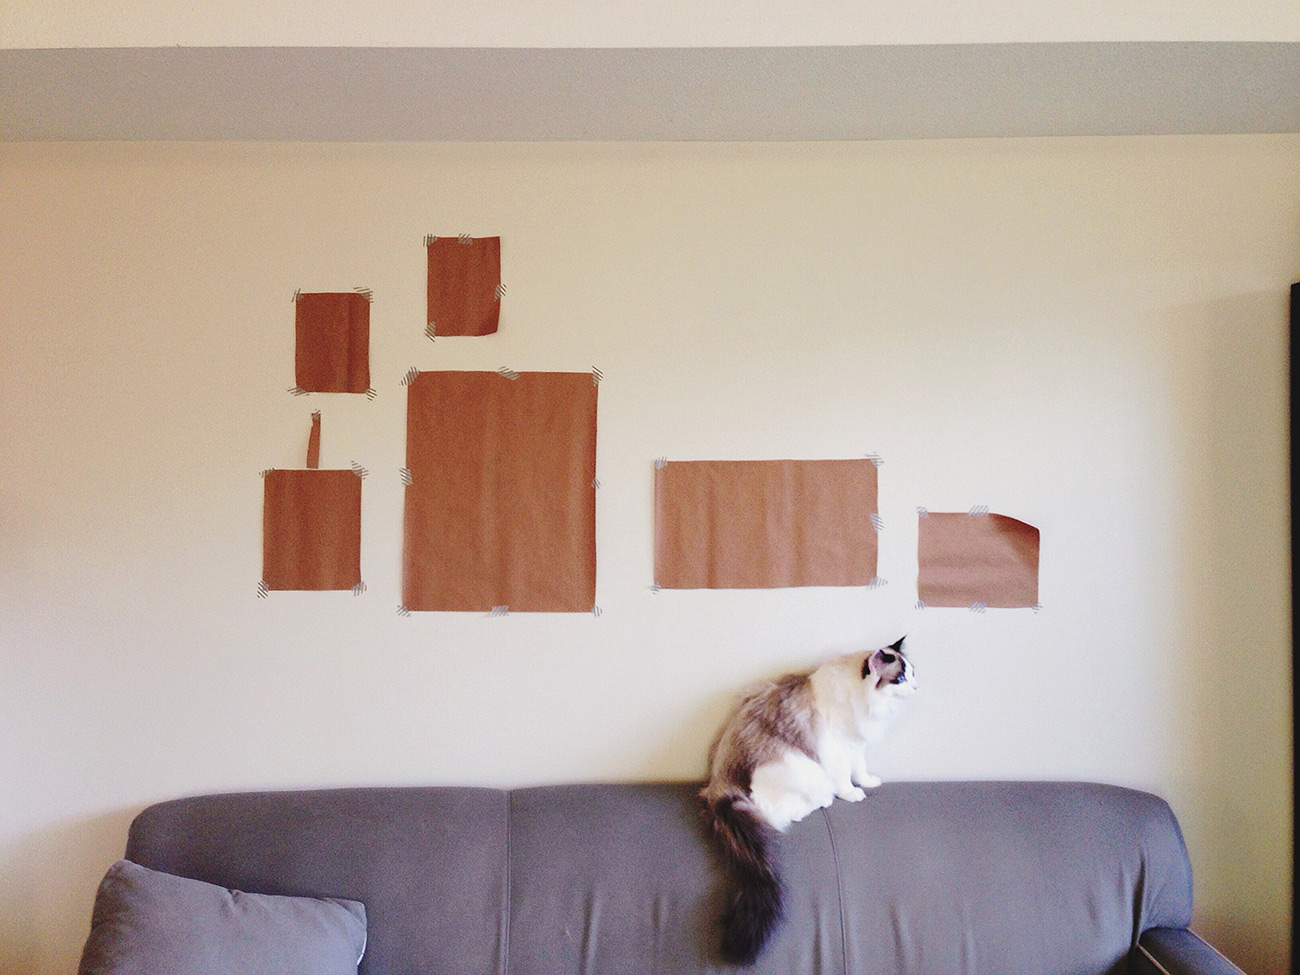
5. Trace and Mark the Frames
Once you’re happy with your arrangement, trace around your frames on brown kraft paper (or wrapping paper) and cut them out. Then re-create your arrangement on your wall with the paper (and use a tape stickier than the washi tape I did… mine kept falling down). Painter’s tape is probably a good idea.
Measure how far the frame’s hook is from the frame’s edge and place a dot on your paper to show where your nail will go. Nail and hang your frames!
6. Choosing photos…
Maybe I’m odd, but I chose my pictures last. My brain is very visual (surprise), so it helped seeing the layout first. I also took a snapshot of the empty frames on the wall and quickly photoshopped various pictures in it so I could see which I liked best where.
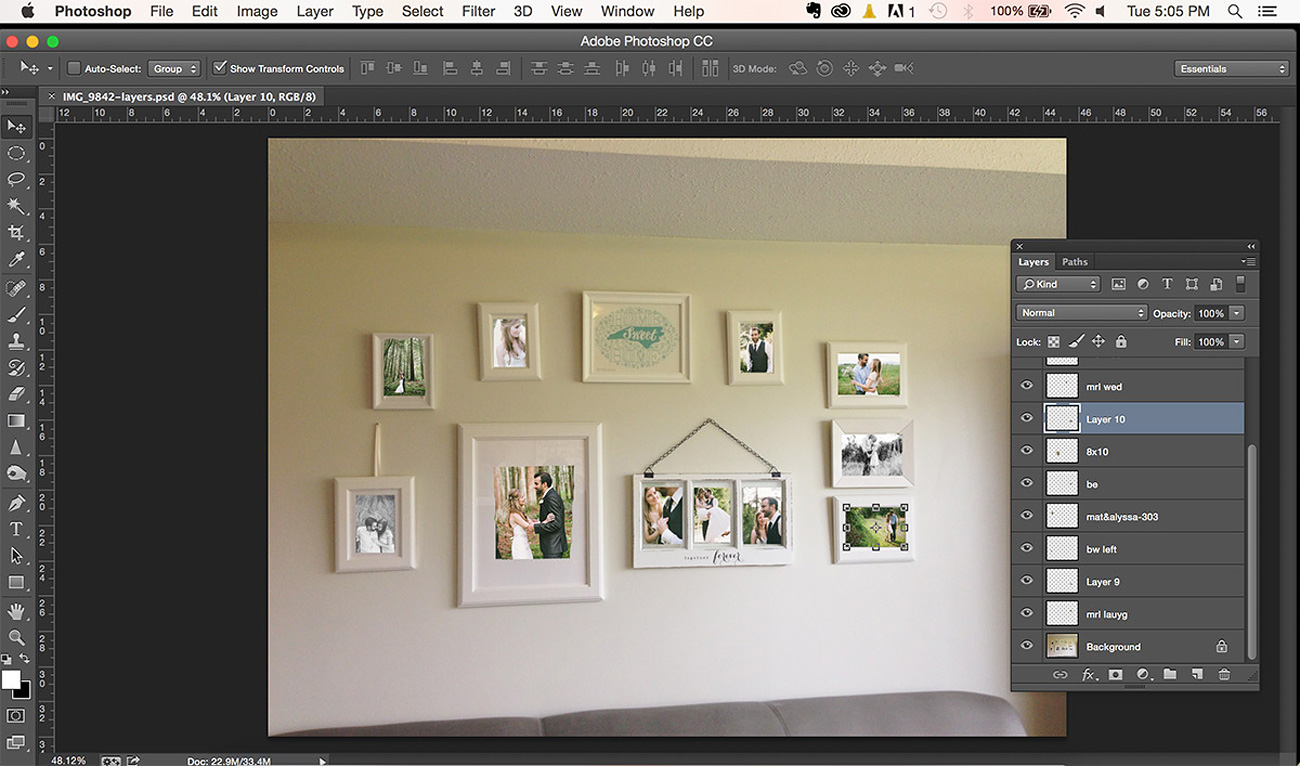
– choose photos with a similar mood or style
– photos with a similar or complimenting colour palette
– black and whites thrown in can make it look less busy
– it can be helpful to print out a few extra to give yourself some options
– mix matted photos with unmatted photos
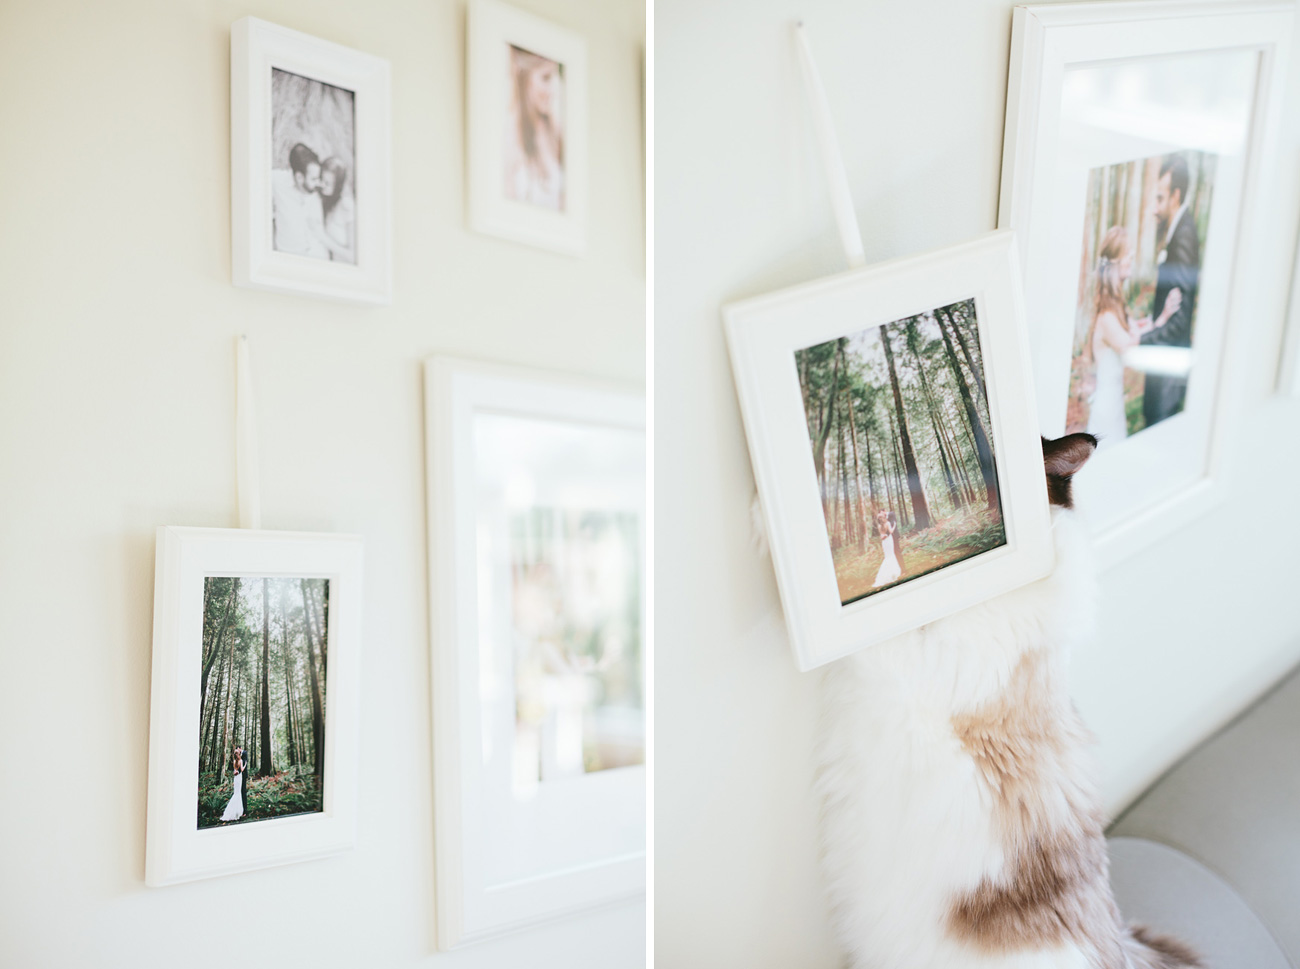
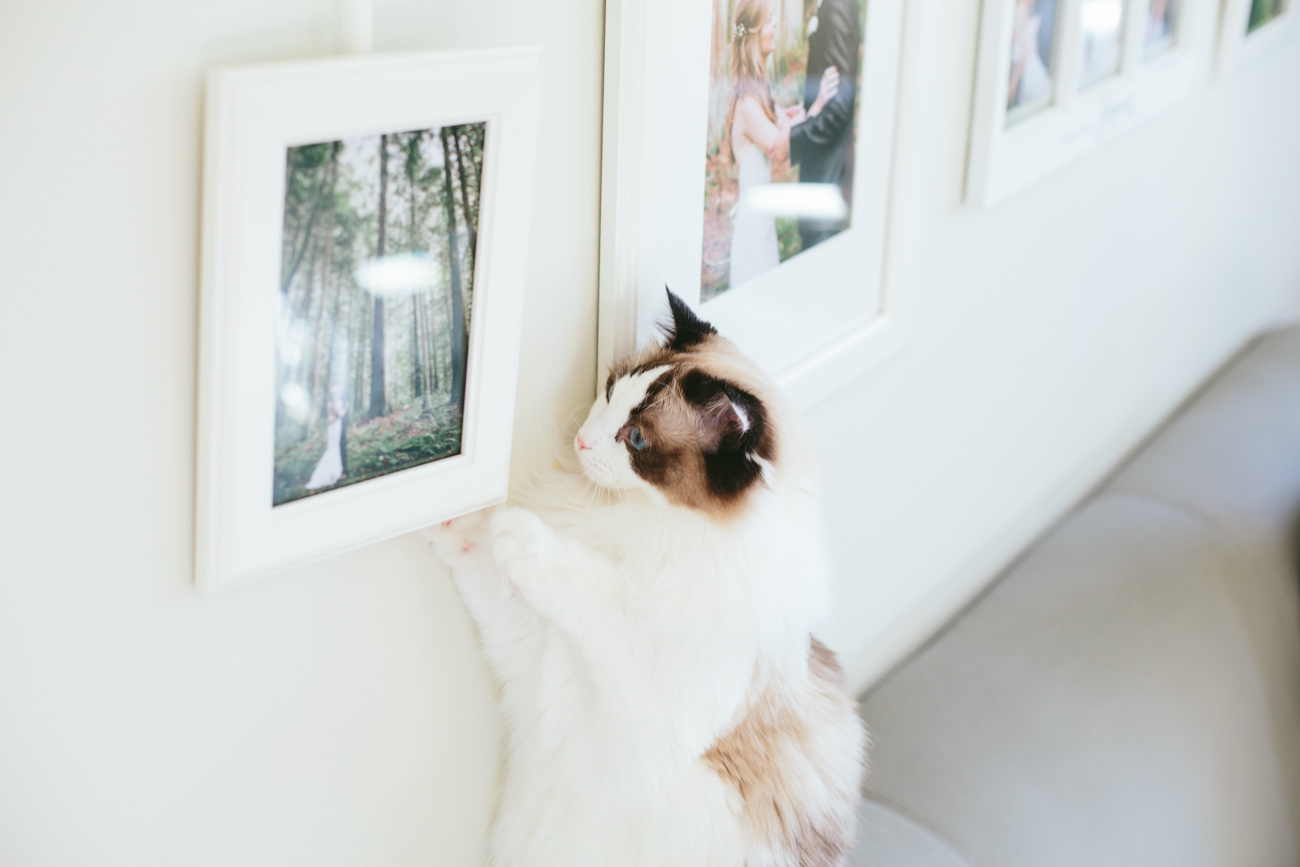
7. Cat’s New Toy
Your cat will think they have a new toy to play with. Bonus points for gallery walls out of the cat’s reach ;)
I love the photo wall! Once we return home, I’d like to start our own photo wall with pictures from many adventures!
So lovely! My walls are empty too, but hoping to change that soon. :)